

I want to create tickets in Jira, but not in Jira. And no, I don’t want to use the API.
That’s the exact request I got from a client a while back. No Service Desk, no Service Management, no coding – just a simple way to let people submit tickets from outside Jira.
My first thought? “Well, that’s… oddly specific.” But here’s the thing – after 12+ years of working with clients like the NHS and Vodafone, I’ve learned that these “weird” requests usually come from very real business problems.
Maybe you need to gather feedback from customers who’ll never touch your Jira instance. Maybe you want to embed a simple ticket form on your website without the overhead of JSM. Or maybe you just need a quick way to collect bug reports without giving everyone Jira access.
Most admins have no clue this is even possible. Hell, I bet half of you reading this have never heard of Jira’s Issue Collector – it’s buried so deep in the settings that it might as well be a hidden feature.
But it’s there, it works beautifully, and I’m about to show you exactly how to set it up. Fair warning though: this is one of those “hidden gems” that can either save your workflow or flood your project with spam if you’re not careful.
Let me walk you through the real-world setup I use in production…
What is Jira’s Issue Collector?
The Issue Collector is a powerful tool that allows you to create tickets in Jira without requiring users to access the platform directly. Whether you’re looking to gather feedback or report bugs, this feature can streamline the process significantly. But how does it actually work? Let’s dive in!
Real-Life Example: Gathering Feedback
Recently, a client approached me with an interesting question. They wanted to create tickets in Jira but didn’t have access to the API or Jira Service Desk. The solution? The Issue Collector! This tool enables you to collect feedback directly from your website. Let me show you how to set it up.
Setting Up the Issue Collector
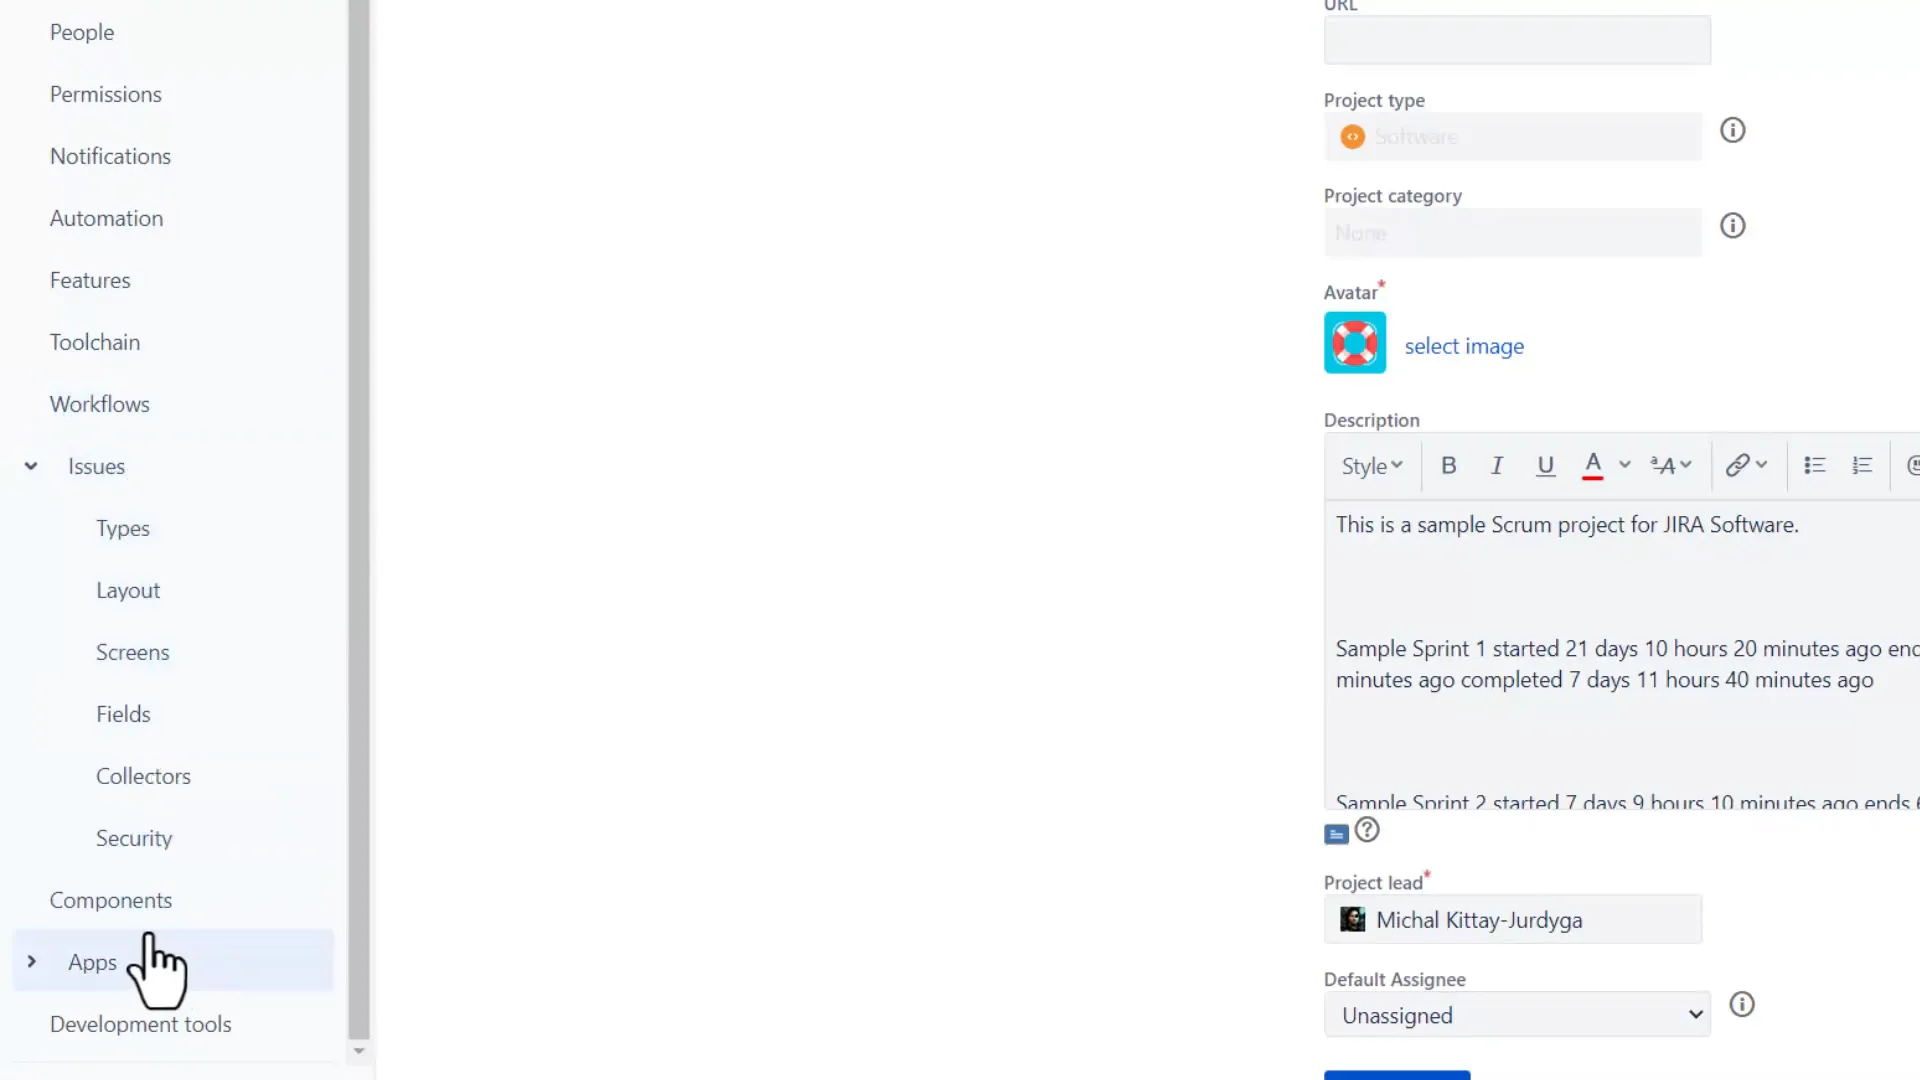
To start, you need to access your Jira project settings. This may require you to have both project admin and Jira admin rights. Once you’re in the settings, navigate to the ‘Issues’ section and look for ‘Collectors’. Here’s a step-by-step guide:
- Click on ‘Add Issue Collector’.
- Name your collector—something like “Feedback Collector”.
- Add a description and select the issue type (I recommend creating a specific type for feedback).
- Choose a reporter for the tickets—this could be you or a separate user set up for this purpose.
- Now, configure the collector’s settings, including the text displayed and the fields you want to include.
Customising Your Collector
The Issue Collector allows for some customization, but it’s somewhat limited. You can choose from templates for feedback or bug reporting, and you can add fields for descriptions, priorities, and attachments. However, adding custom fields may not be possible for all users.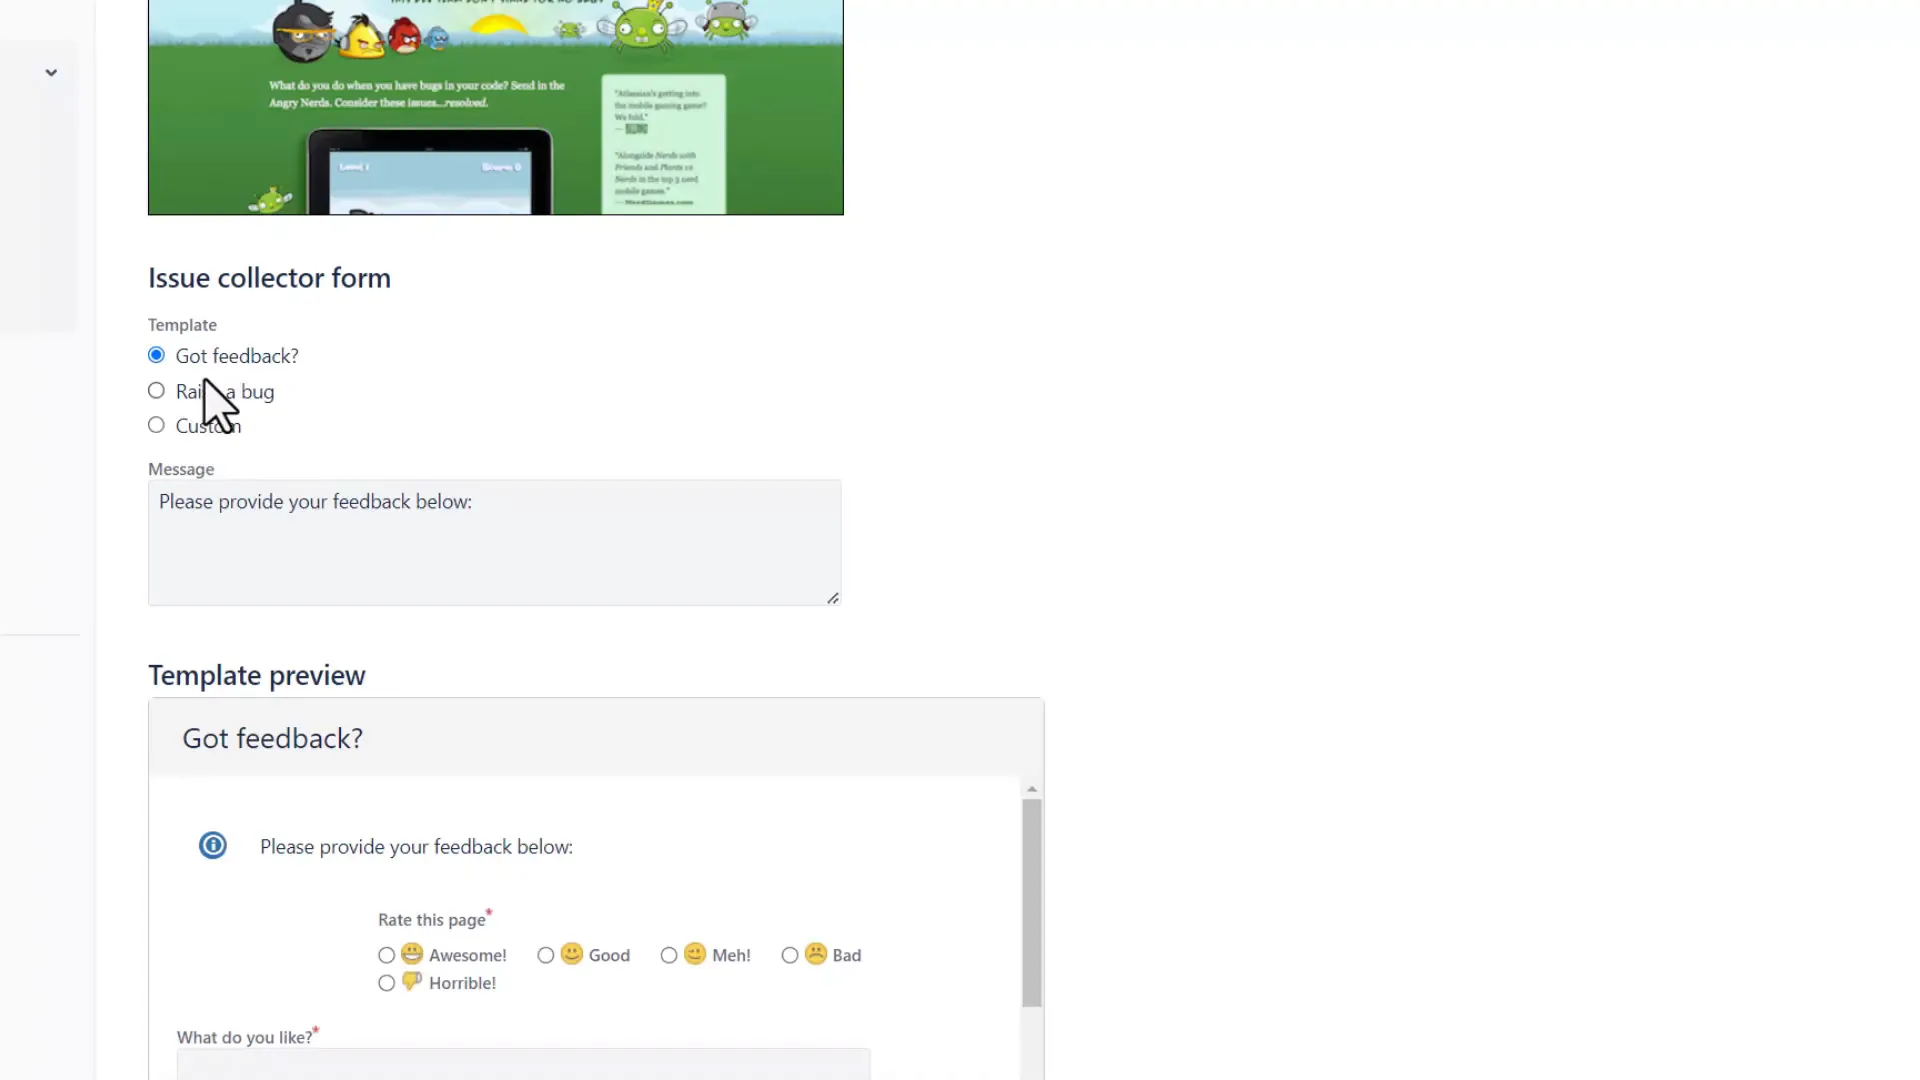
Embedding the Issue Collector in Your Website
Once your Issue Collector is set up, you’ll receive a script that you can embed on your website. This is compatible with platforms like WordPress. Here’s how to do it:
- Open your WordPress site and navigate to the page where you want the collector.
- Add an HTML block and paste the script you received from Jira.
- Save your changes and test the collector on your site.

Testing Your Setup
Now that you’ve embedded the collector, it’s time to test it! Fill out the form and submit it. You should see the ticket generated in your Jira project. This process not only helps you gather valuable feedback but also keeps users engaged by allowing them to report issues seamlessly.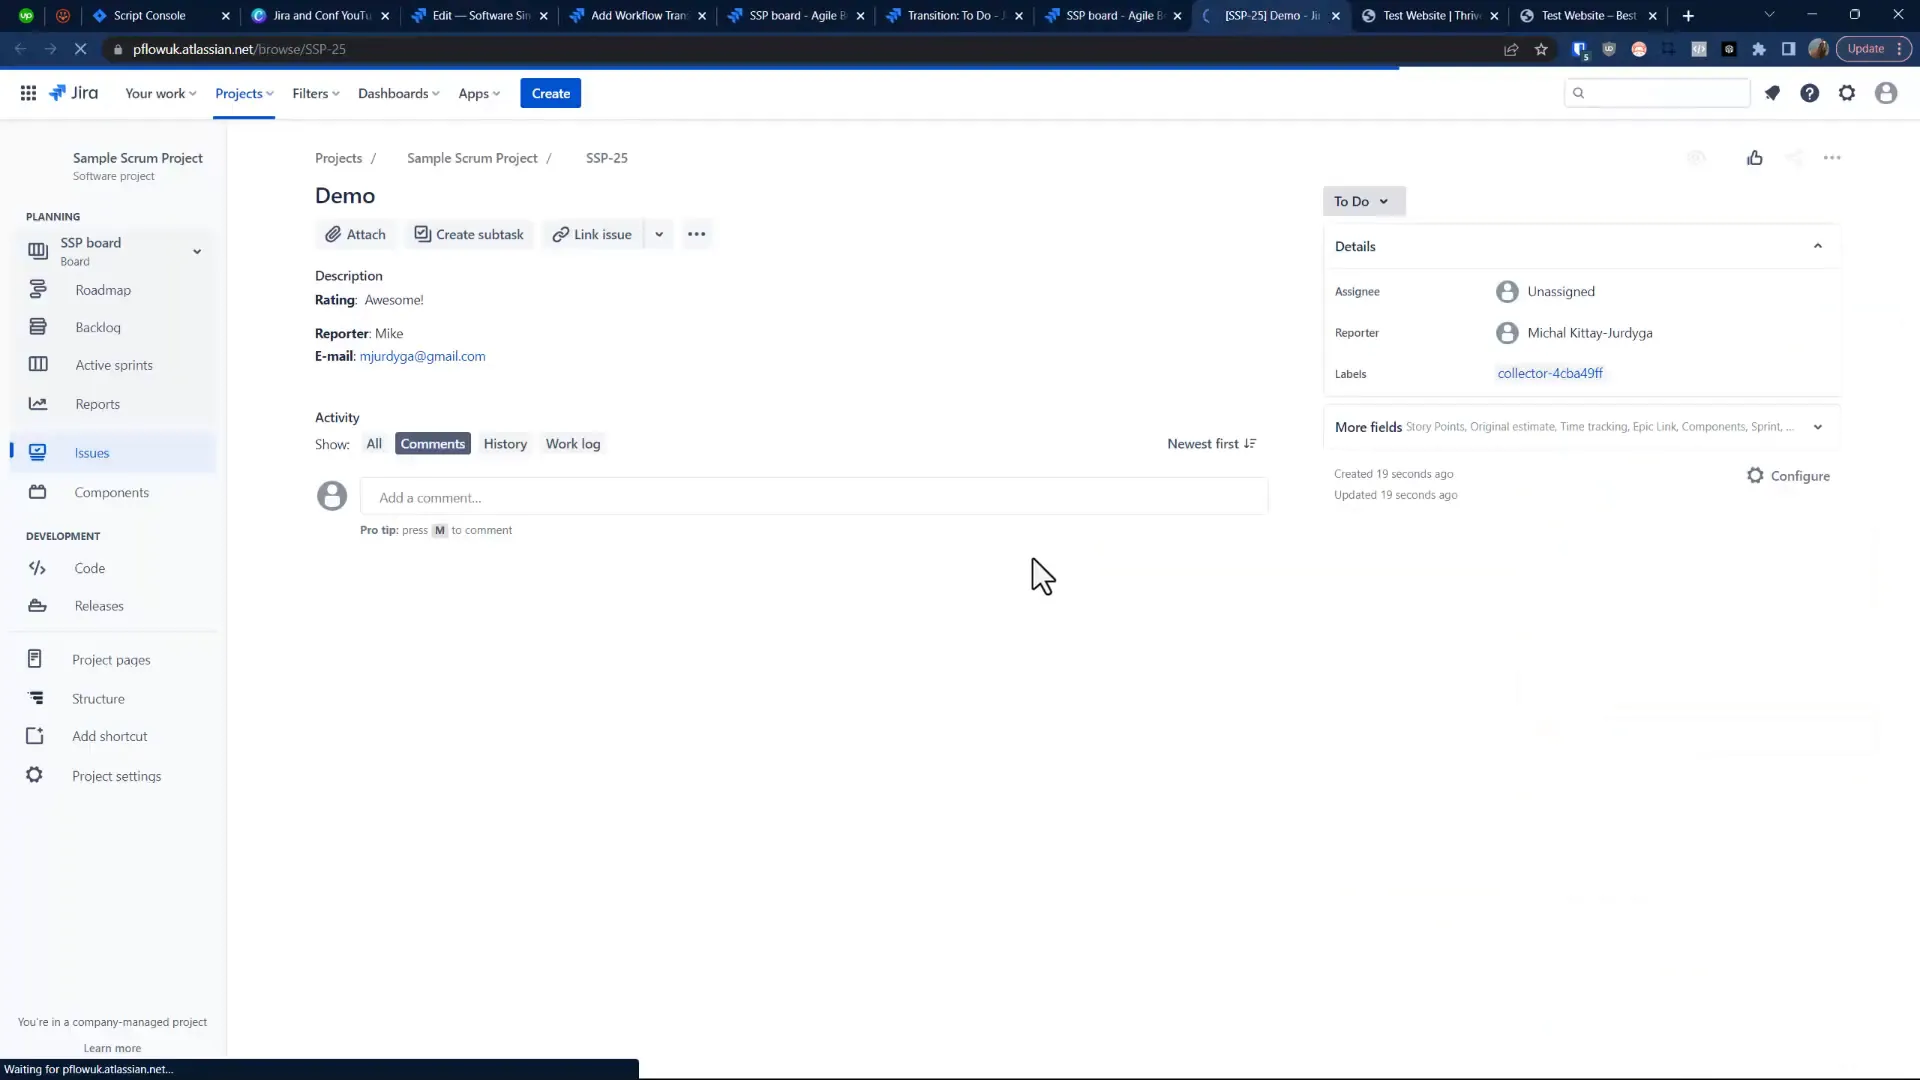
Why Use the Issue Collector?
The Issue Collector is particularly useful for businesses that want to enhance their user experience by gathering direct feedback. It’s an effective way to identify areas for improvement and prioritize user concerns without additional hassle.
Conclusion
The Jira Issue Collector is a simple yet powerful tool that can transform how you interact with your users. By embedding this feature on your website, you can collect feedback effortlessly, ensuring that your projects are always aligned with user needs. If you’re interested in learning more about Jira or need assistance, feel free to check out our Jira Training and Consulting.
Frequently Asked Questions
Can I customise the fields in the Issue Collector?
Yes, but the customisation options are limited to the templates provided. You can add fields for descriptions, priorities, and attachments, but not custom fields in all cases.
Do I need special permissions to create an Issue Collector?
Yes, you need to have both project admin and Jira admin rights to set it up properly.
Is it possible to track the usage of the Issue Collector?
Absolutely! You can view statistics on the number of people who clicked on the collector and the number of tickets created.
For more tips and tricks on Jira, check out our blog for additional resources!