The 2026 Jira Crash Course: From "Bug Tracker" to Business Ecosystem

I walk into client meetings every week where Marketing and HR teams are drowning in spreadsheets because they are terrified of Jira. They think it's "too technical." They think it's "overkill."
But here is the reality: In 2026, Jira isn't just for code. It has swallowed Trello. It has integrated AI. It has become a full-service Business Ecosystem. Whether you are running "Hardcore Scrum / Kanban" or just a simple to-do list for your creative team, Jira is now the single source of truth.
So, if you're here, you're probably trying to figure out if Jira is right for you—or maybe you've already jumped in and feel a bit overwhelmed. Either way, you're in the right place.
⚠️ Note on Interface: I am currently filming a brand new 2026 video walkthrough to match the latest UI changes. In the meantime, the guide below captures my latest strategic advice on Project Types and Premium features.
I've spent over 14 years implementing Jira for massive organizations like BBC, Vodafone, NHS, and Lloyds Bank. I've also helped thousands of smaller teams through my YouTube channel, Project Flow Academy. And here's what I've learned: Jira isn't just about tracking bugs anymore. It's evolved into something much more powerful—and yes, much more accessible than people think.
What Actually Is Jira in 2026?
Let's clear this up right away because there's still massive confusion about this, even after 15 years of Jira being around.
Jira is NOT just bug tracking. I know that's what people think. "Oh, it's fancy bug tracking software." No. That hasn't been true for years.
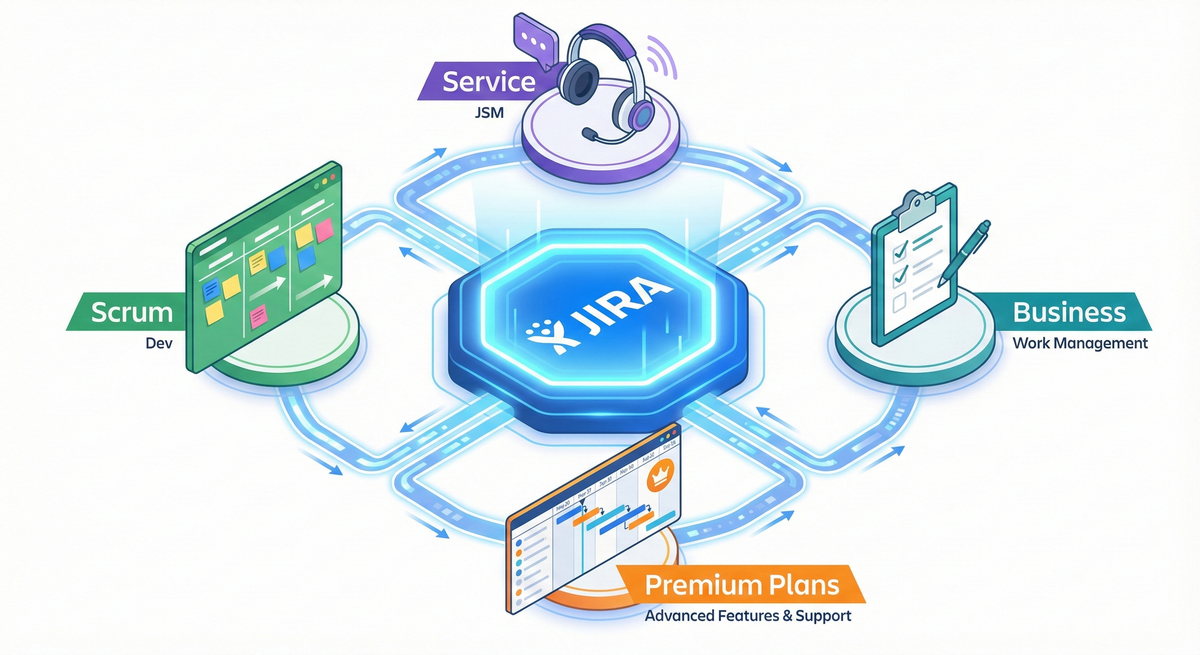
Jira is a complete agile project management ecosystem. Here's what that actually means:
- It handles Scrum project management
- It runs Kanban workflows
- It does simple task tracking (like Trello, which Atlassian actually owns now—and yes, Trello is still alive and thriving)
- It powers IT service management through JSM (Jira Service Management)
- It connects everything together through integrations with Confluence, Bitbucket, and hundreds of other tools
The key word here is ecosystem. Why? Because not everyone needs Scrum. Not everyone wants Kanban. Some teams just need simple list tracking. Jira handles all of it.
This is why I tell people: jumping on the Jira bandwagon is still very much a thing in 2026, and it's only going to grow. The ecosystem approach means once you're in, you can scale and adapt without switching platforms every time your needs change.
The Pricing Question Everyone Asks
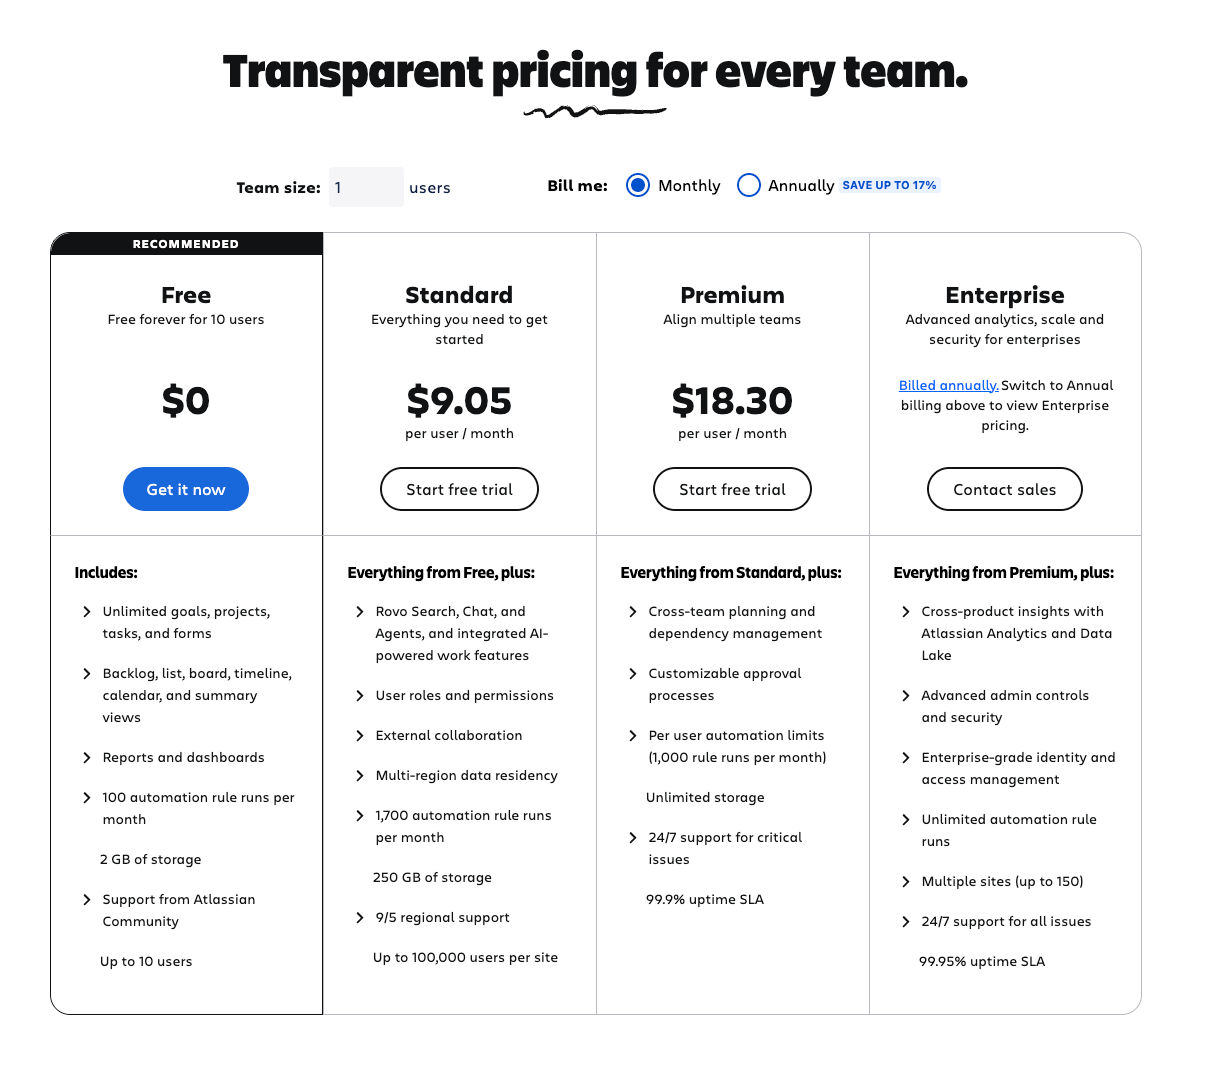
Let me break down the three tiers and actually tell you what you need:
Free Plan (Yes, It's Actually Good)
The Free plan is genuinely usable. You get:
- Up to 10 users
- Unlimited projects
- All core features for Scrum and Kanban
- 2GB storage
Loads of people use Jira Free successfully. It's a brilliant entry point. Don't let anyone tell you that you "need" to upgrade immediately—you don't.
Standard Plan
This is the middle tier at around $7.75 per user per month. You get:
- Unlimited users
- 250GB storage
- Better support
- More advanced features
Most small to medium teams eventually land here, and it's solid value.
Premium Plan (My Recommendation)
Here's where I differ from most people: I actually recommend Premium now, especially if you're serious about project management.
Why? Two words: Plans and AI.
Jira Plans alone is worth the premium tier. It's an incredibly powerful roadmapping and resource planning tool that gives you visibility across multiple projects. If you're managing more than one project or coordinating teams, Plans changes everything.
The AI features in Premium are also getting seriously impressive—automatic issue descriptions, intelligent search, and smart suggestions that actually help.
Premium runs about $15.25 per user per month, and for professional teams, it's absolutely worth it.
Should You Start with Scrum, Kanban, or Something Else?
This is where people get stuck. They think they need to make this huge decision upfront. Here's my advice: start with what matches your actual workflow.
If You Want Simple Task Tracking
Go with a Team-Managed project using the simple board template (what used to be called Jira Work Management, now just called "Business" projects).
I used to absolutely hate Team-Managed projects. As a consultant, I pushed everyone toward Company-Managed projects because they're more powerful and configurable.
But I've completely changed my mind. Here's why:
Things change fast now. Teams are more agile (lowercase 'a'). People are cleverer about tools—they don't need a consultant to hold their hand through basic setup. Team-Managed projects give you:
- Quick setup (literally 2 minutes)
- Simplified interface
- Easier for non-technical teams
- Self-service management
Yes, there are limitations. You can't share configurations across projects. But honestly? For many teams, that's actually a good thing. It keeps things simple and prevents the configuration bloat I see in so many organizations.
If You're Doing Real Scrum
Then create a Company-Managed Scrum project. This is for the "hardcore" users—teams that do actual sprint planning, sprint reviews, retrospectives, and want all the metrics.
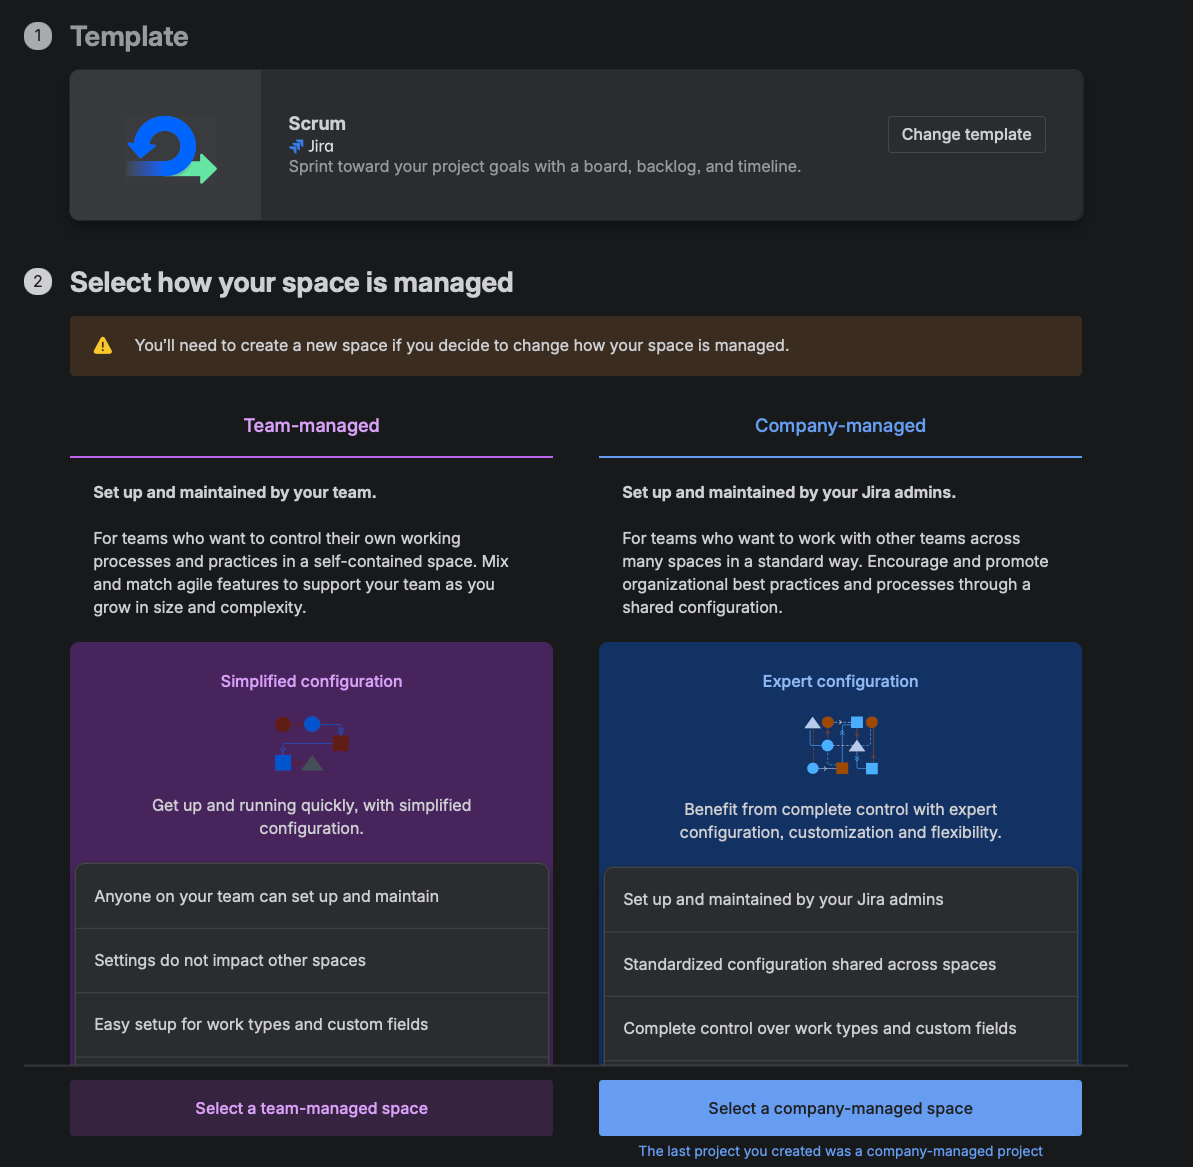
Company-Managed projects give you:
- Shared configurations across projects
- More customization options
- Better for scaling
- Integration with Jira Plans (if you're on Premium)
If You're Running Continuous Flow
Kanban is your answer. Great for support teams, operations, or any team that doesn't work in fixed sprints.
Setting Up Your First Project (The Right Way)
Let me walk you through this because the setup process matters more than you think.
Step 1: Create Your Project
Click "Create Project" (or hit 'C' on your keyboard—cool shortcut, right?).
Now, here's the fork in the road:
For most teams starting out: Choose "Team-Managed" and pick the template that matches your style (Board for Kanban-style, Scrum for sprints, List for simple tasks).
For larger organizations or teams needing advanced features: Choose "Company-Managed" and select either Scrum or Kanban.
Step 2: Name It Properly
Pick a clear project name. The project key (like "DEMO" or "MKTG") should be short—you'll see it everywhere.
Pro tip: Don't overthink the key. It's just an identifier. I've seen teams spend 30 minutes debating whether to use "PROJ" or "PROJECT." It doesn't matter that much.
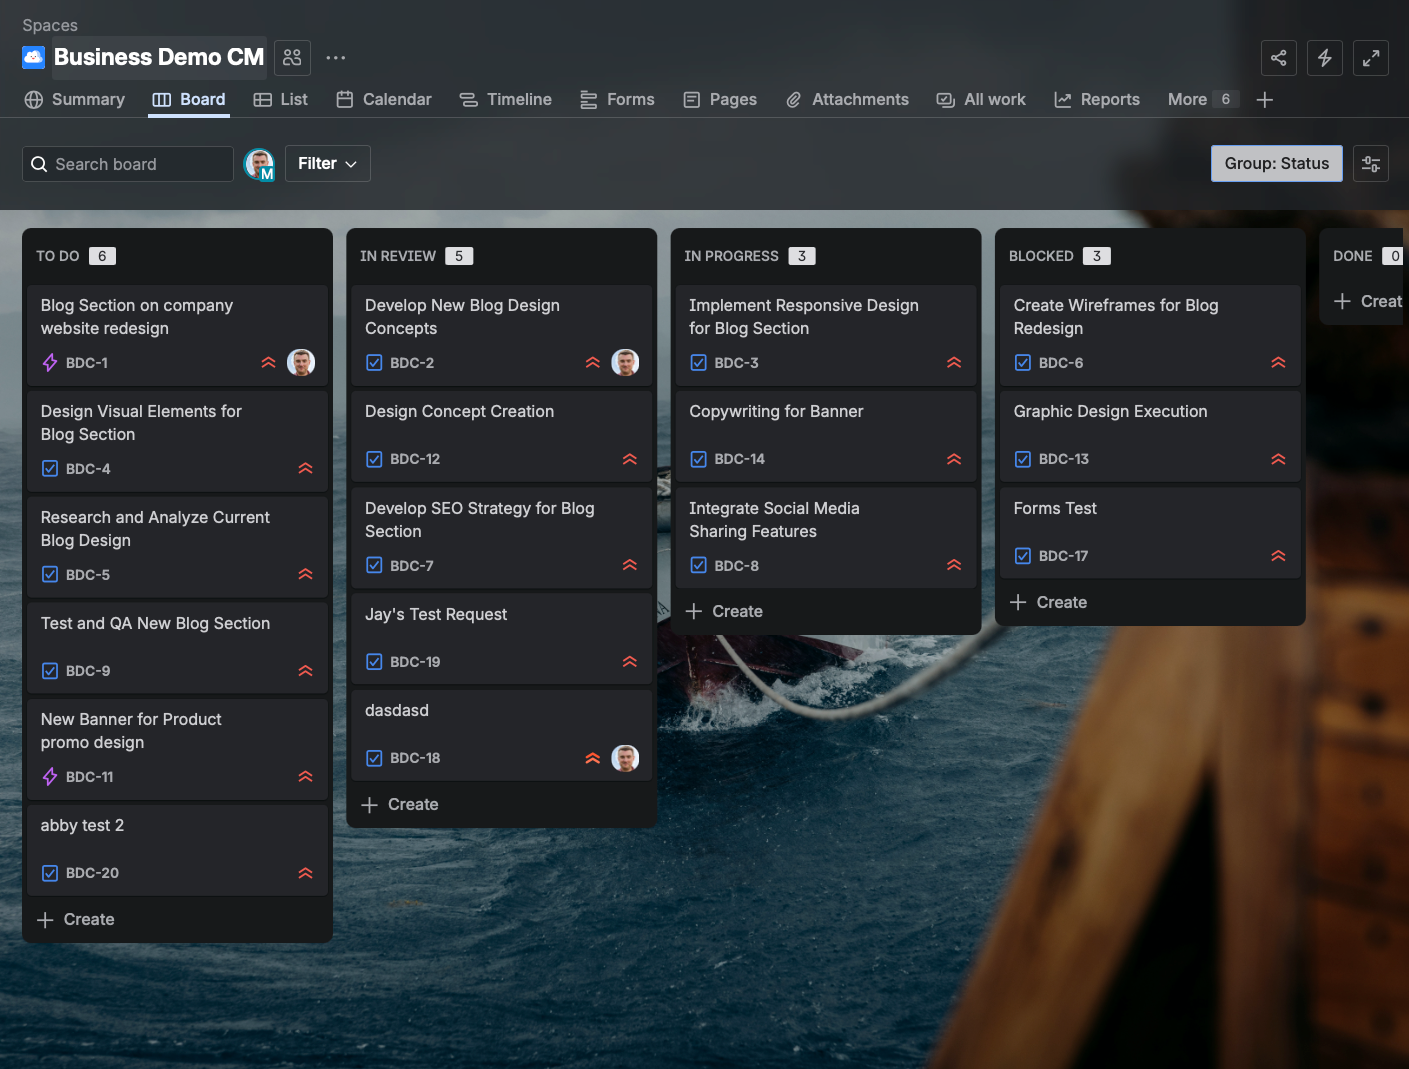
Step 3: Set Up Your Board Columns
This is where most people go wrong. They create 47 columns because they want to track every possible state.
Start with three:
- To Do
- In Progress
- Done
That's it. Seriously.
I had a client with 12 columns. Their team was constantly confused. We simplified to three, and productivity jumped immediately.
Want to add more? Do it based on actual need, not theoretical workflow. Common additions I recommend:
- Review (for code review or approval steps)
- Blocked (trust me, you'll need this)
Step 4: Understand Issue Types
There are a few main types:
Stories - Use these for user-focused work ("As a user, I want to...")
Tasks - Use these for technical or internal work
Bugs - Use these for... bugs
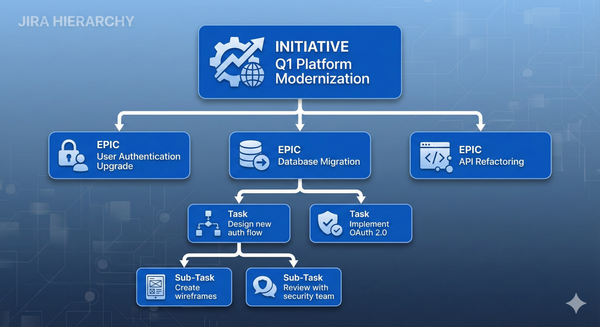
Epics - These are your secret weapon
Epics are high-level containers. Think of them like this:
Epic: Website Redesign
- Story: Update Homepage
- Task: Optimize Images
- Bug: Fix Mobile Menu
This hierarchy keeps everything organized without drowning in complexity.
Epics are great for grouping related Stories together. But what happens when you
have 50+ Epics and need another level above? That's where Initiatives come in - they sit above Epics in the Jira hierarchy.
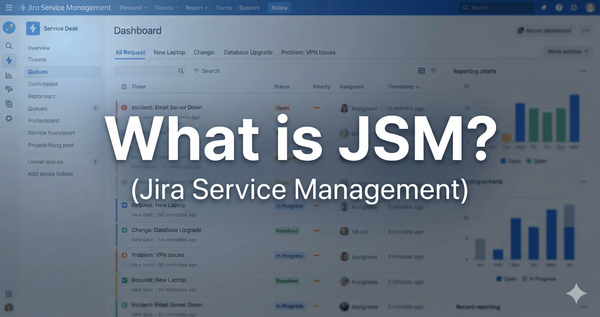
The JSM Connection (Why This Matters)
Here's something many people miss: Jira Service Management (JSM) is part of the same ecosystem.
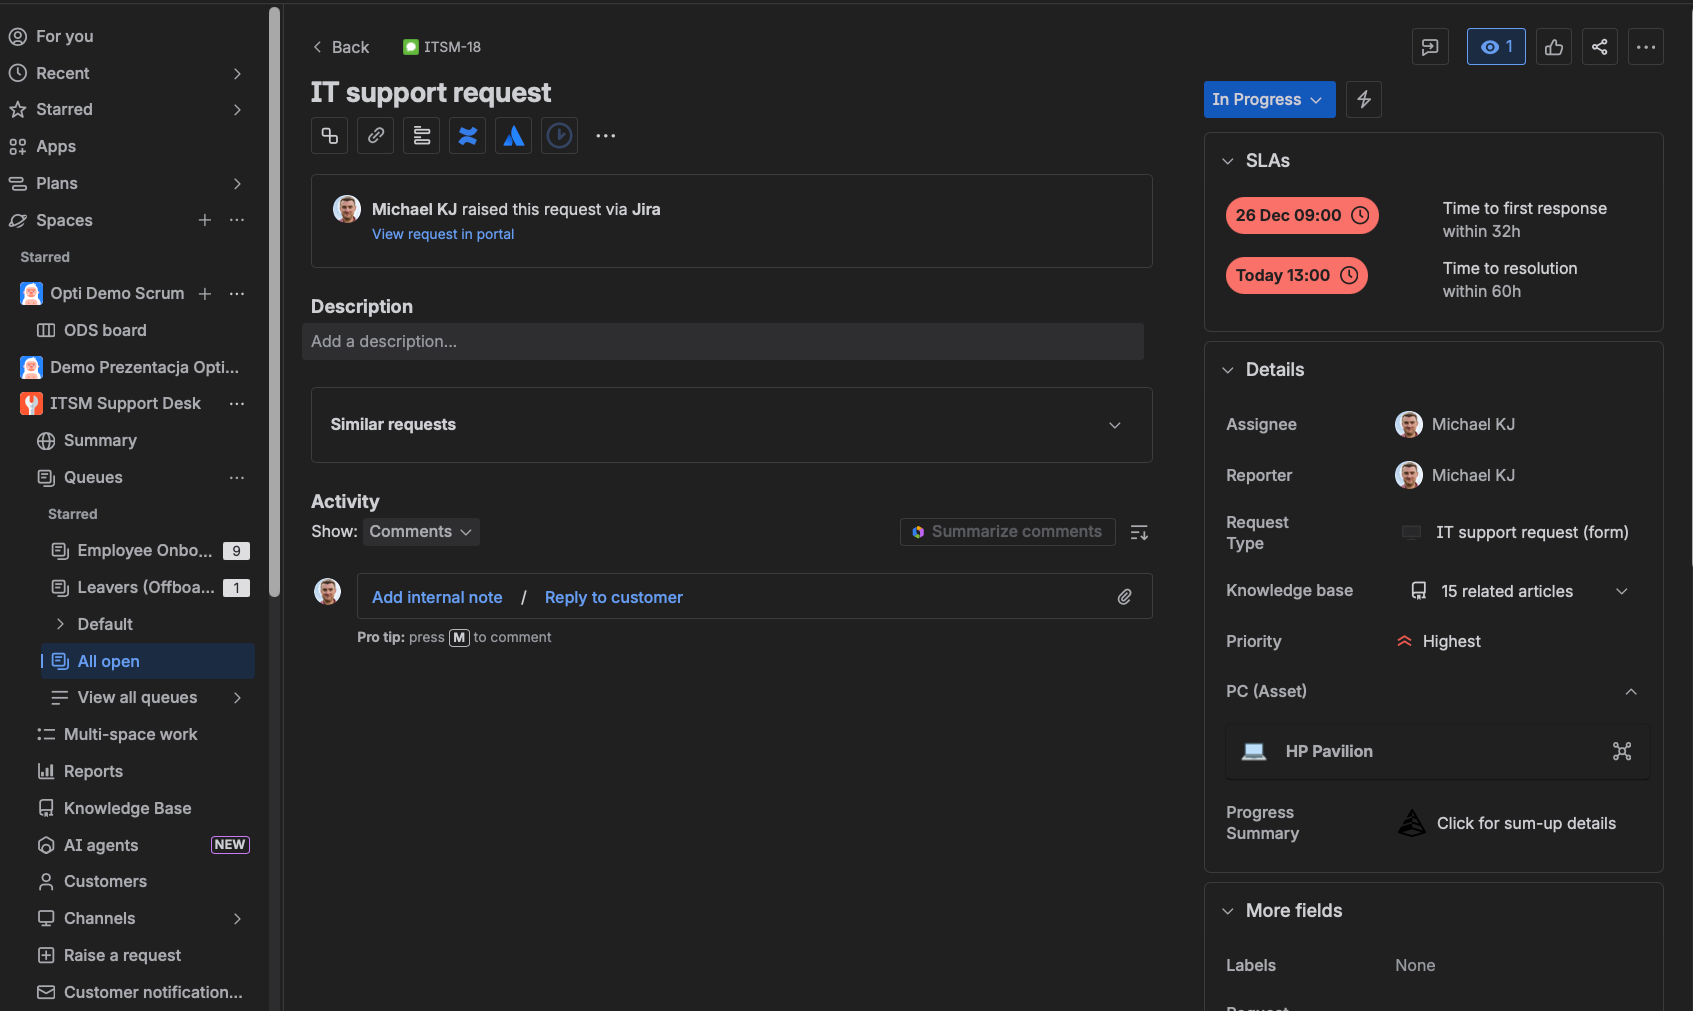
Why does this matter? Because the moment you need any kind of service desk—IT helpdesk, HR requests, facilities management, even customer support—JSM plugs right in. Same users, same data, connected workflows.
This is a huge reason why "jumping on the Jira bandwagon" is still worth it. You're not just getting project management. You're getting an entire work management platform that grows with you.
Want the full picture? Read my complete guide: What is Jira Service Management?
Using Jira Plans (The Premium Killer Feature)
If you've upgraded to Premium, Jira Plans needs to be part of your workflow. Here's what it does:
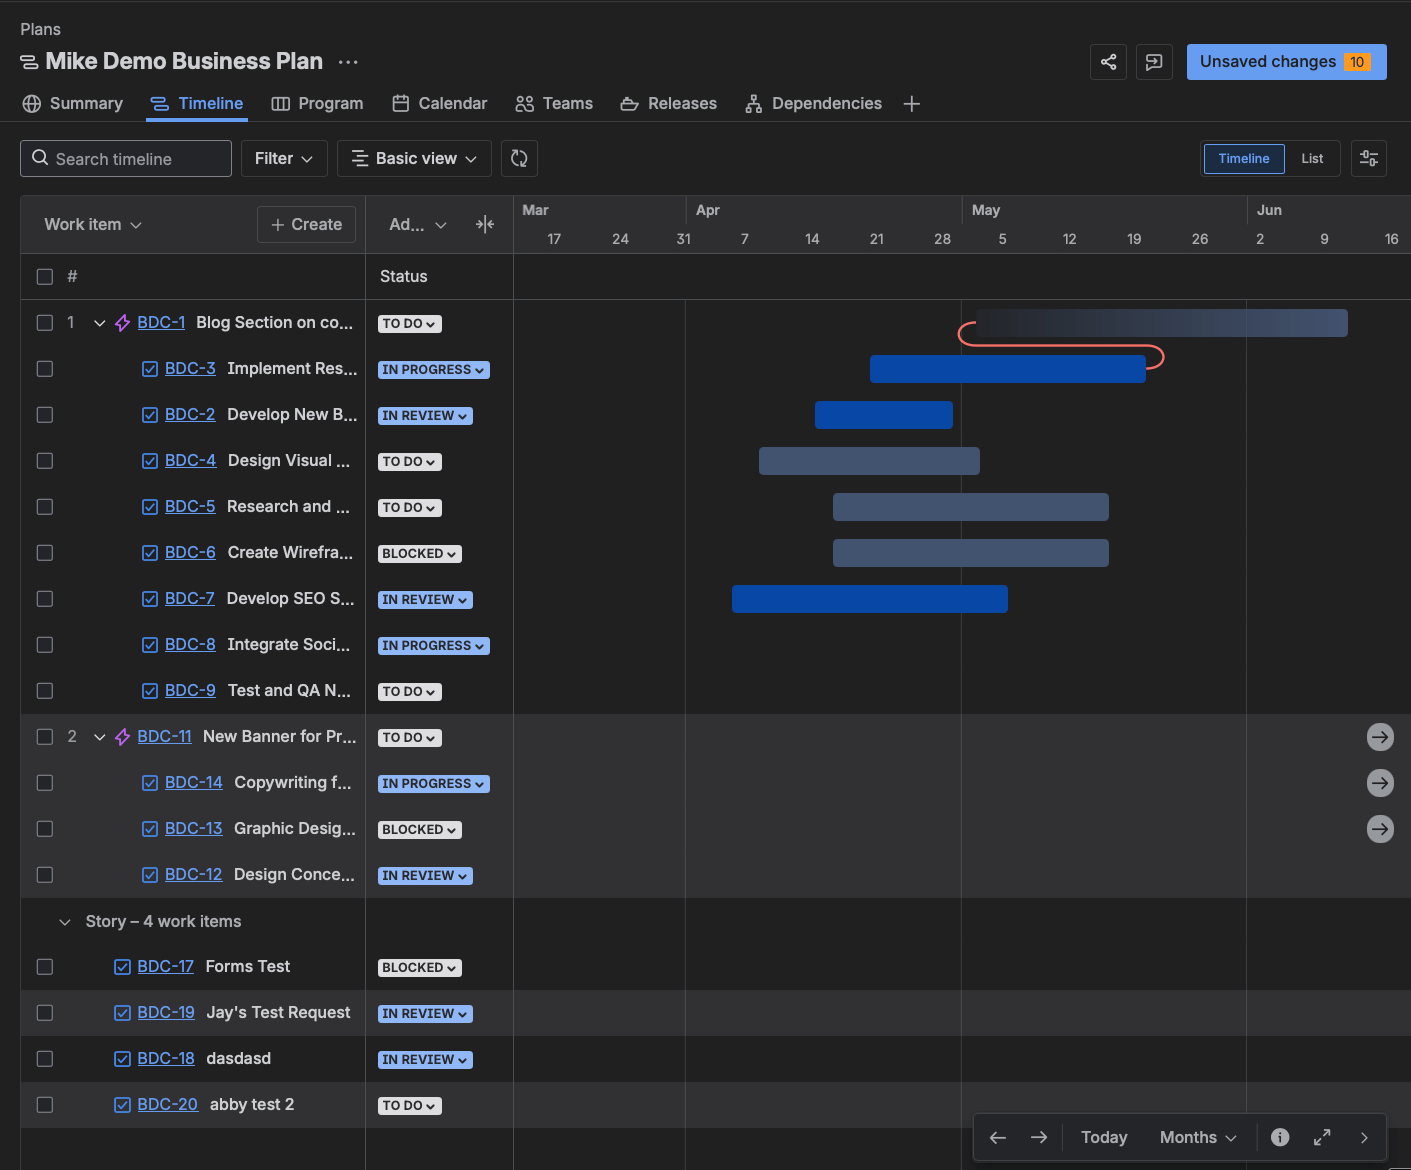
- Cross-project visibility - See all your work in one place
- Timeline views - Gantt-style roadmaps that actually update automatically
- Capacity planning - See who's overloaded, who has capacity
- Dependency tracking - Understand what's blocking what
I call Plans the "brilliant battery" for hardcore Jira usage. It takes everything from scattered to strategic.
Every single project in Premium should be plugged into Plans. That's how you go from managing tasks to managing outcomes.
The Evolution of Jira (Why It's Better Now)
Let me share something important: Jira in 2026 is dramatically different from Jira even three years ago.
It's faster. The interface is snappier, less clunky.
It's more intuitive. Atlassian has actually listened to user feedback and simplified things.
It's AI-powered. The Premium AI features are genuinely useful, not gimmicky.
It's more flexible. Team-Managed projects prove this—you don't need a consultant for everything anymore.
But here's what hasn't changed: Jira is still as powerful as you need it to be. Simple teams can use it simply. Complex organizations can configure it deeply. That's the beauty of it.
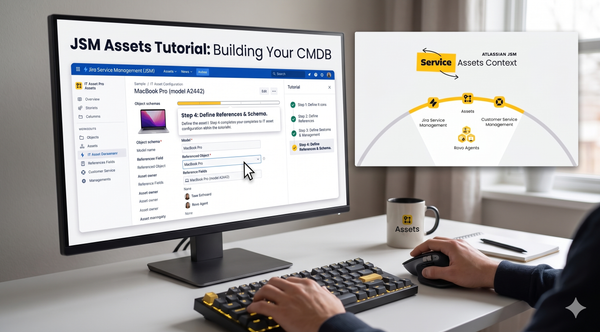
Here is the secret that manuals won't tell you: Jira Service Management (JSM) is the glue.
Most companies treat their internal support (IT, HR, Legal) as totally separate from their project work. This is a mistake. Because JSM is part of the same platform, you can link a "Support Ticket" from a customer directly to a "Bug" on the developer's Scrum board.
When you master this link, you stop being a "Task Manager" and start becoming a "Service Delivery Organization."
Common Mistakes to Avoid
After 14 years, I've seen every mistake possible. Here are the big ones:
Over-customization
Don't add custom fields for everything. Keep it simple. Only add what you actually use.
For a complete guide on managing fields properly, see my Custom Fields Masterclass - it'll save you from the 300-field nightmare I see at most clients.
Too Many Columns
Start with three. Add more only when you have a clear, specific reason.
The same principle applies to workflows - my Workflow Customization Guide shows you how to keep them simple while still meeting your needs.
Ignoring Automation
Jira's built-in automation is powerful. Use it. Start with templates, then customize.
Not Training Your Team
Jira is only as good as your team's understanding of it. Invest in training.
Your Next Steps
Here's how to actually get started:
- Sign up for a free account and create your first project
- Pick the right template for your team (Team-Managed for simplicity, Company-Managed for power)
- Start with basic columns and add complexity only when needed
- Run a short pilot with a small team before rolling out widely
- Consider Premium if you're managing multiple projects or teams
And remember: Jira is a tool. It's an ecosystem. It's powerful, flexible, and yes—it's grown up a lot since those early "bug tracking" days.
The teams winning with Jira in 2026 are the ones who understand it's not about perfect configuration. It's about getting work visible, keeping teams aligned, and adapting as you grow.
If you want to dive deeper into Jira setup, Scrum workflows, or JSM implementations, I share everything I know on my YouTube channel, Project Flow Academy. I've also got a community on Skool where we solve real-world Jira problems together.
Now get out there and build something great.